
I absolutely love this recipe because it’s ridiculously simple yet delivers the most incredible artisan-style bread with minimal effort, making me feel like a pro baker in my own kitchen. Plus, the slow fermentation process gives the bread an amazing flavor and texture, perfect for impressing friends at brunch or just indulging in a cozy night at home with some good olive oil and balsamic vinegar.
I adore making uncomplicated, nourishing recipes. My bread is no different.
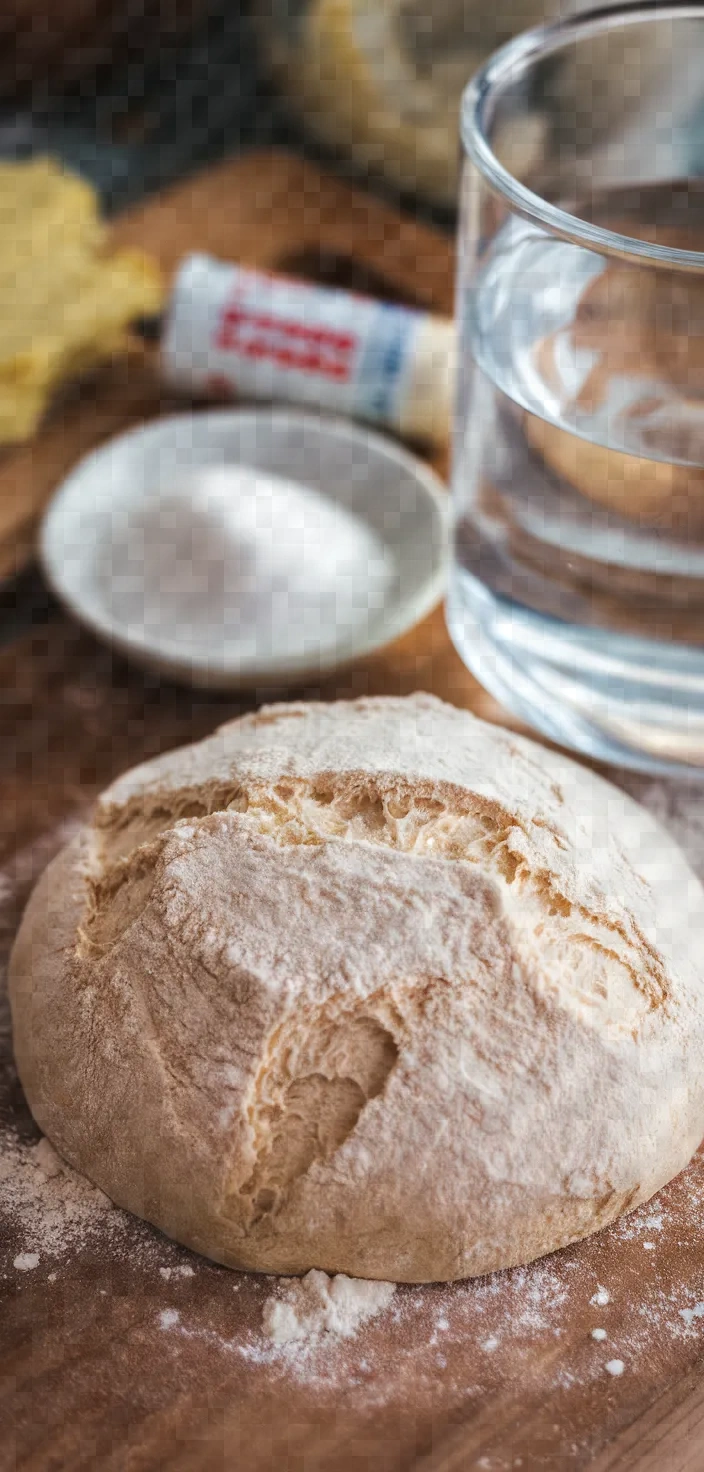
It calls for just 3 cups of all-purpose flour, 1/4 teaspoon instant yeast, 1 1/4 teaspoons salt, and 1 1/2 cups of water—all of which you can have on hand at any time. This perfect balance of basic ingredients yields a lovely crusty loaf that tastes amazing straight from the oven and only gets better with toasting, sandwich-making, and eat-it-with-your-hands variety.
Ingredients
Enriched all-purpose flour: Delivers a mix of nutrients required to make bread, including carbohydrates, proteins, and vitamins—and, if not for the intentional addition of nutrients in an industrial bread-making process, bread made from wheat flour would be a poor source of several vital nutrients.
Instant yeast: Causes the dough to rise, giving it lightness and better texture.
Salt: Intensifies taste and fortifies gluten matrix.
H2O: Binds components, turning yeast into a vivaciously leavening agent and dough into a rising marvel.
Ingredient Quantities
- 3 cups all-purpose flour
- 1/4 teaspoon instant yeast
- 1 1/4 teaspoons salt
- 1 1/2 cups water
Instructions
1. In a big bowl, blend together the flour, instant yeast, and salt. Mix well to guarantee an even distribution of the ingredients.
2. Combine the dry ingredients with the water. Using a wooden spoon or your hand, mix until a wet, sticky dough comes together. The dough should be shaggy and sticky; if it’s not, you might need to add a little more water to get it to the right consistency.
3. Plastic wrap or a clean kitchen towel can be used to cover the bowl. The dough can be allowed to rest at room temperature for 12 to 18 hours, until the surface is dotted with bubbles and the dough has more than doubled in size.
4. Dust a work surface or a piece of parchment paper with flour. Turn the dough out onto the surface and cover it with a little extra flour to keep it from sticking. Very gently, and with as little handling as possible, fold the dough over itself once or twice.
5. Form the dough into a ball, using only enough flour to keep the dough from sticking to your hands or the work surface.
6. Put a large piece of parchment paper inside a bowl or lay it flat in a large space. Next, flip the dough, now a ball, seam side down, onto the parchment paper. Lightly cover the dough with a clean kitchen towel. Then, let it rise again in a space that’s about 80–90°F (27–32°C) for one to two hours until it has again doubled in size.
7. Approximately 30 minutes prior to the dough being finished, set the oven to 450°F (232°C) to preheat. A Dutch oven or heavy pot that is safe for the oven works well; just be sure to use one with a lid that can also go in the oven. Preheat the pot alongside the oven.
8. After the oven has reached the desired temperature and the dough has risen, the next step requires the pot to come out of the oven. Here, caution and proper handling with oven mitts are crucial, for the pot will be extremely hot. You will also need to carefully transfer the dough, which rests on parchment paper, into the pot.
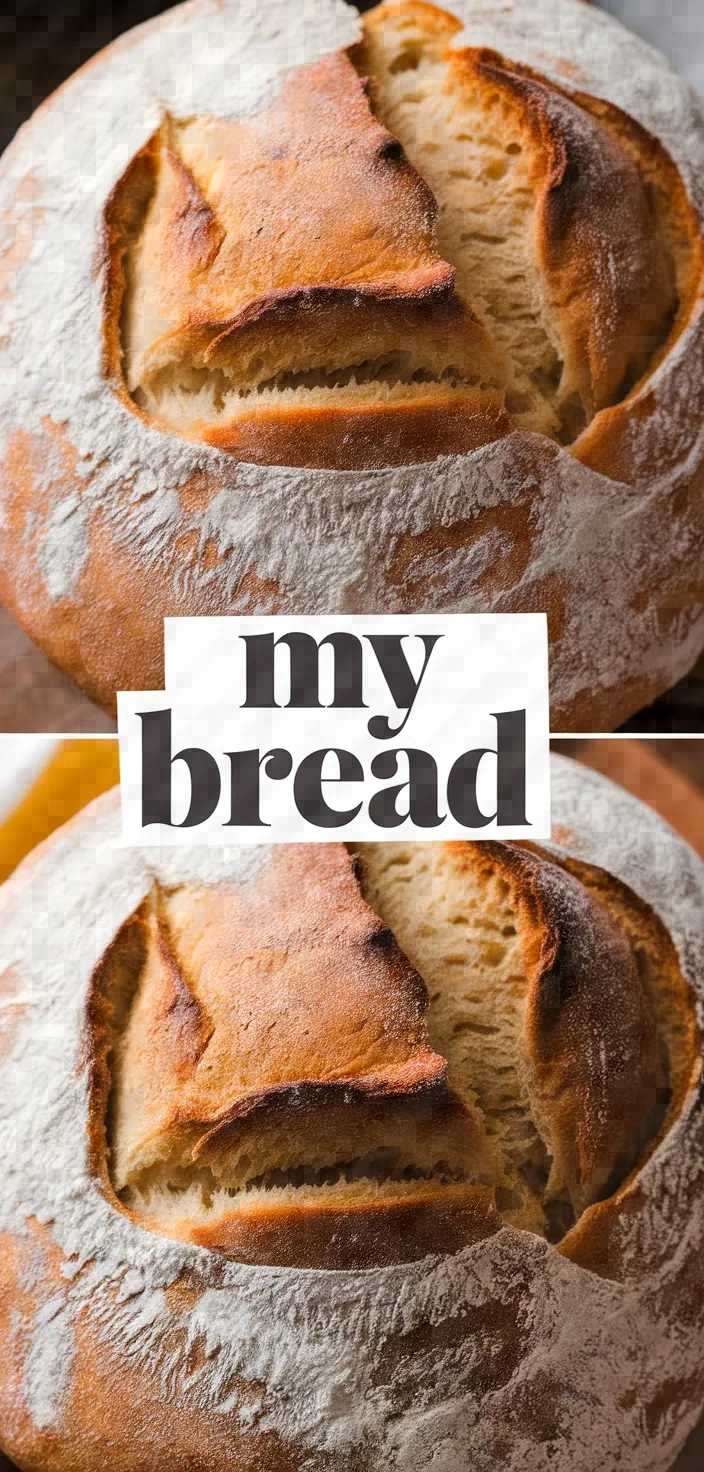
9. Put the lid back on the pot and return it to the oven. Bake for 30 minutes, then remove the lid and bake for an additional 10 to 15 minutes, until the bread is a deep golden brown.
10. Take the bread out of the pot and set it on a wire rack. Allow it to cool completely before you slice into it. Enjoy your creation!
Equipment Needed
1. Large mixing bowl
2. Wooden spoon
3. Measuring cups
4. Measuring spoons
5. Plastic wrap or clean kitchen towel
6. Parchment paper
7. Flat work surface
8. Oven thermometer (optional)
9. Dutch oven or heavy pot with lid
10. Oven mitts
11. Wire rack
FAQ
- What is the total preparation time for My Bread?The dough takes 12-18 hours to rise, but the actual preparation time is a mere 10 minutes.
- Can I use bread flour instead of all-purpose flour?Bread flour can be used, which might yield a slightly chewier texture in the bread.
- Is it necessary to proof the yeast?No, because instant yeast is used, it can be mixed directly with the dry ingredients without first having to be proved.
- Can I add mix-ins like herbs or cheese?Indeed, it is permissible to incorporate add-ins; just integrate them thoroughly as you are mixing the dough.
- What is the recommended baking temperature?Set your oven to 450 degrees Fahrenheit (232 degrees Celsius). Bake the bread in the oven for approximately 30 minutes while covered and about 15 minutes while uncovered.
- Do I need a Dutch oven?It is recommended to use a Dutch oven because it helps to create a steamy environment, which gives the bread a crispy crust.
- How do I store the bread once it’s baked?For optimal freshness, the bread can be stored at room temperature in a paper bag for up to 2 days.
Substitutions and Variations
1 cup whole wheat flour, replacing 1 cup of the all-purpose flour for a heartier texture
1 teaspoon active dry yeast, used instead of instant yeast (note: use warm water to proof in for a few minutes before using)
Substitute 1 teaspoon fine sea salt for regular salt to achieve a slightly different flavor.
1 1/2 cups of room-temperature beer subbing in for water for a one-of-a-kind flavor
1 1/2 cups of buttermilk instead of water for a tender, flavorful crumb and a bit of tang.
Pro Tips
1. Use High-Quality Flour Choose a high-quality all-purpose flour for better texture and flavor. If available, try to use bread flour for a bit more chewiness and structure in your finished loaf.
2. Measure Accurately Weighing the flour rather than using a measuring cup can lead to more consistent results, as it reduces variability and ensures you have the precise amount of flour needed.
3. Temperature Control for Better Rise The ambient temperature can greatly affect the rising time. If your kitchen is cooler than the suggested 80–90°F (27–32°C), extend the final rise time for up to another hour. Alternatively, you could place the bowl inside a turned-off oven with the light on to maintain a consistently warm environment.
4. Enhance Flavor with Fermentation If you have the time, extend the initial rise to the full 18 hours. A longer fermentation develops deeper, more complex flavors in the bread due to the yeast actively working on the dough for a lengthier period.
5. Steam for a Crispy Crust To achieve an even better crust, place a baking tray with water on the bottom rack of the oven as you preheat it. The steam created will help the bread develop an excellent crispy crust.
My Bread Recipe
My favorite My Bread Recipe
Equipment Needed:
1. Large mixing bowl
2. Wooden spoon
3. Measuring cups
4. Measuring spoons
5. Plastic wrap or clean kitchen towel
6. Parchment paper
7. Flat work surface
8. Oven thermometer (optional)
9. Dutch oven or heavy pot with lid
10. Oven mitts
11. Wire rack
Ingredients:
- 3 cups all-purpose flour
- 1/4 teaspoon instant yeast
- 1 1/4 teaspoons salt
- 1 1/2 cups water
Instructions:
1. In a big bowl, blend together the flour, instant yeast, and salt. Mix well to guarantee an even distribution of the ingredients.
2. Combine the dry ingredients with the water. Using a wooden spoon or your hand, mix until a wet, sticky dough comes together. The dough should be shaggy and sticky; if it’s not, you might need to add a little more water to get it to the right consistency.
3. Plastic wrap or a clean kitchen towel can be used to cover the bowl. The dough can be allowed to rest at room temperature for 12 to 18 hours, until the surface is dotted with bubbles and the dough has more than doubled in size.
4. Dust a work surface or a piece of parchment paper with flour. Turn the dough out onto the surface and cover it with a little extra flour to keep it from sticking. Very gently, and with as little handling as possible, fold the dough over itself once or twice.
5. Form the dough into a ball, using only enough flour to keep the dough from sticking to your hands or the work surface.
6. Put a large piece of parchment paper inside a bowl or lay it flat in a large space. Next, flip the dough, now a ball, seam side down, onto the parchment paper. Lightly cover the dough with a clean kitchen towel. Then, let it rise again in a space that’s about 80–90°F (27–32°C) for one to two hours until it has again doubled in size.
7. Approximately 30 minutes prior to the dough being finished, set the oven to 450°F (232°C) to preheat. A Dutch oven or heavy pot that is safe for the oven works well; just be sure to use one with a lid that can also go in the oven. Preheat the pot alongside the oven.
8. After the oven has reached the desired temperature and the dough has risen, the next step requires the pot to come out of the oven. Here, caution and proper handling with oven mitts are crucial, for the pot will be extremely hot. You will also need to carefully transfer the dough, which rests on parchment paper, into the pot.
9. Put the lid back on the pot and return it to the oven. Bake for 30 minutes, then remove the lid and bake for an additional 10 to 15 minutes, until the bread is a deep golden brown.
10. Take the bread out of the pot and set it on a wire rack. Allow it to cool completely before you slice into it. Enjoy your creation!